This is a very quick and simple introduction on creating and putting online a personal or any other website. We won’t delve into the details of making our website pretty or content-rich, but we will provide links to more information if you are interested in properly setting up a website.
The tools we will use are Jekyll and GitHub Pages. We will use Jekyll to build the website and GitHub Actions to deploy it and put it online.
What is Jekyll? From the official website:
Jekyll is a static site generator. It takes text written in your favorite markup language and uses layouts to create a static website. You can tweak the site’s look and feel, URLs, the data displayed on the page, and more.
What is GitHub Pages?
GitHub Pages is a static site hosting service that takes HTML, CSS, and JavaScript files straight from a repository on GitHub, optionally runs the files through a build process, and publishes a website.
Here are two examples of websites that use Jekyll:
- The group’s website: http://web.evolbio.mpg.de/social-behaviour/
- My personal website: https://nikoleta-v3.github.io
My personal website also uses GitHub Pages. How can we tell? Well, it’s right there in the name, but we will get to that.
Installation
Before you can start building your website, you will need to install a few things. The dependencies, or the items you need to install for Jekyll, are outlined on Jekyll’s website: https://jekyllrb.com/docs/installation/.
To use GitHub Pages, you will need to create a GitHub account. Please note that we will build and deploy our website for free! You do not need to have a paid account with GitHub to use GitHub Pages.
For this tutorial, you will have to run commands in the terminal (Mac OS/Linux).
If you are on a Windows machine, you can try downloading Git
Bash. In this tutorial, you
will know that you need to run a command in the terminal because the command
will start with the symbol $.
We will also need to install git, which is a version control tool. It allows us to communicate with GitHub, upload (push) changes, or download (pull) things.
You will need an editor of your choice. I use VSCode (not a paid promotion).
So, here’s a checklist of what you need:
- Follow the installation steps outlined on the Jekyll website.
- Create a GitHub account.
- Use the terminal or Git Bash.
- Install git.
- Have an editor of your choice.
Feel free to reach out if you encounter any installation issues.
Starting Your Own Website
Let’s start by creating a very basic empty website! In your terminal, navigate to where you want the folder for your website. For example, I am going to create the folder on my Desktop.
$ pwd
/Users/glynatsi
$ cd Desktop/
The pwd command is a simple way to determine your current location, and the
output will vary for each person. Now, let’s run the first Jekyll command:
$ jekyll new myblog
Running bundle install in /Users/glynatsi/Desktop/myblog...
  Bundler: Fetching gem metadata from https://rubygems.org/............
  Bundler: Resolving dependencies...
  Bundler: Fetching sass-embedded 1.69.3 (x86_64-darwin)
  Bundler: Installing sass-embedded 1.69.3 (x86_64-darwin)
  Bundler: Bundle complete! 7 Gemfile dependencies, 33 gems now installed.
  Bundler: Use `bundle info [gemname]` to see where a bundled gem is installed.
New jekyll site installed in /Users/glynatsi/Desktop/myblog.
This command creates a folder on your computer called myblog. Don’t believe
me? Type ls to list all items in your current location.
$ ls
Don't Starve Together.app
Pub Quiz: Postdoc Retreats 2023.md
myblog
Navigate to the folder using $ cd myblog. Now, let’s build the site and make
it available on a local server:
$ bundle exec jekyll serve
This will return a bit of text, but it will include a line along the lines
Server address: http://127.0.0.1:4000/. Open this URL in your web browser.
Here is an example of how the website looks in my Safari browser.
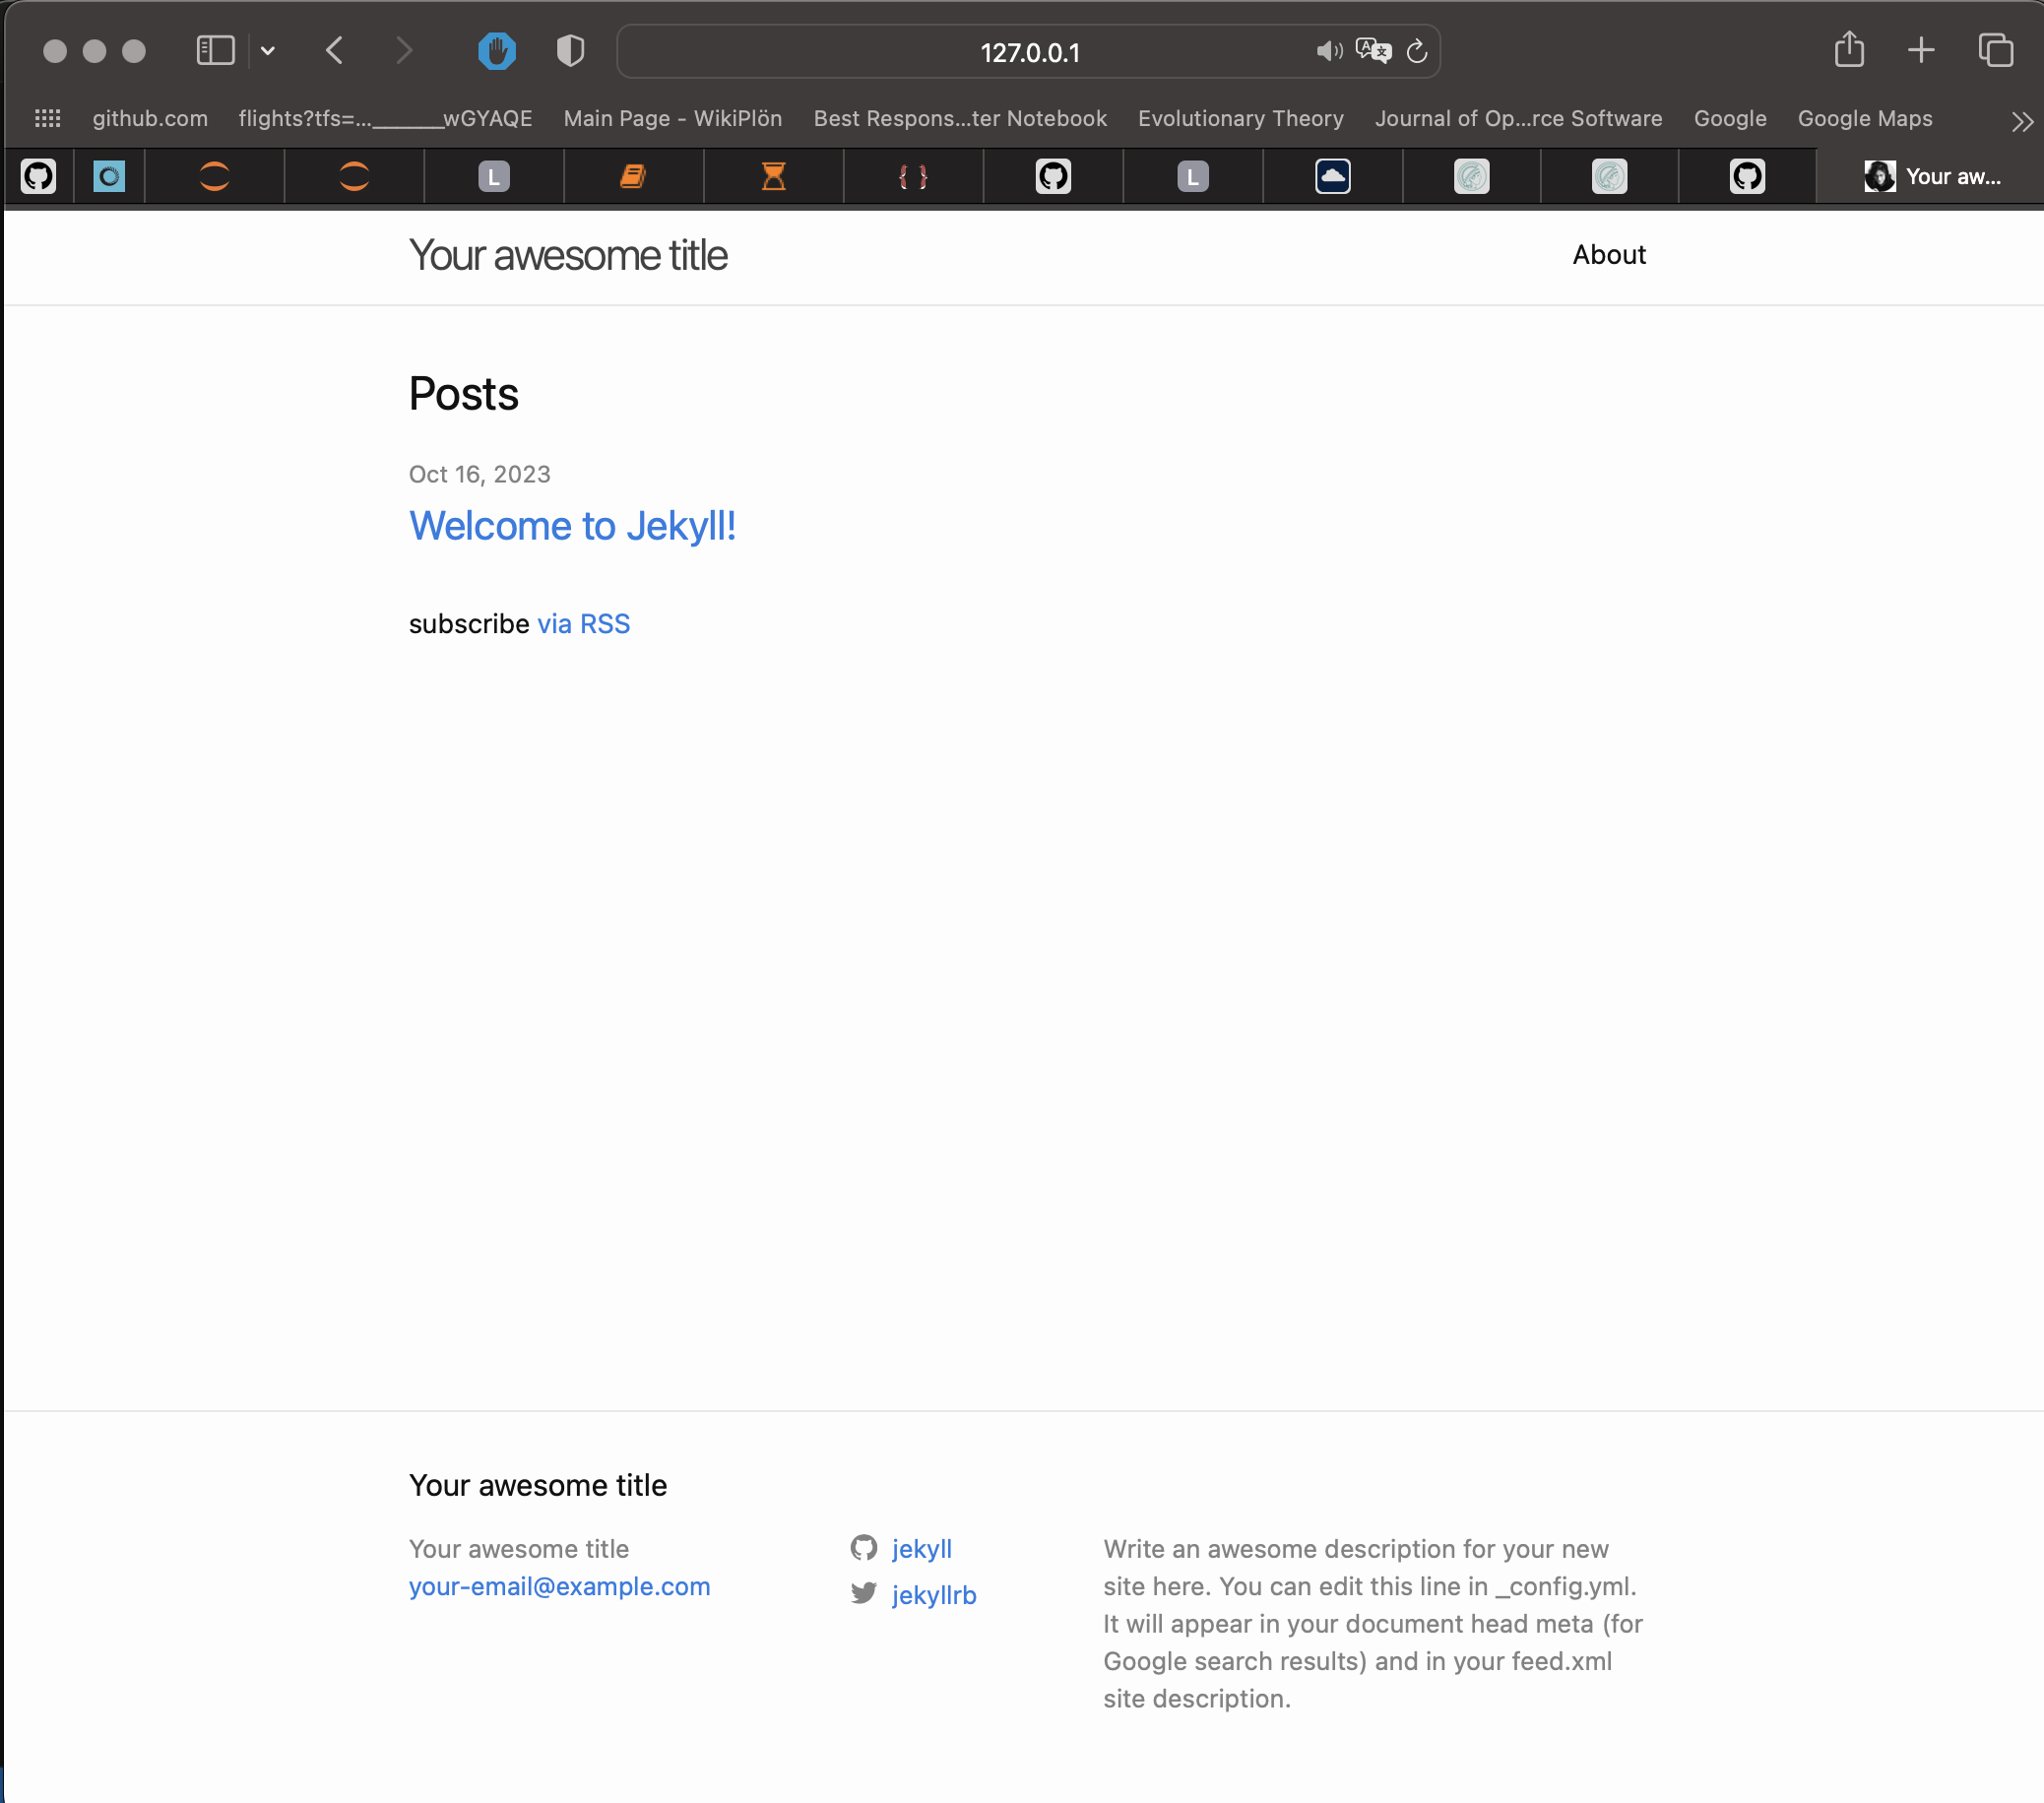
Notice that when we compiled the website a folder _site was created. This is
where the generated site is placed!
Changing the Website
Let’s make some minor adjustments to the website. For example, if you want to
change the homepage, you need to edit the index.markdown file in the myblog
folder. For instance, add the following line to the file and then refresh the
website:
Hello and welcome to my home page!
Now, you can see the new sentence on the homepage. You’ll also notice a list of
posts. Where does this list come from? If you look at index.markdown at the
top, you’ll find the line:
layout: home
You can read more about layouts here, but in a nutshell, layouts are templates that wrap around your content.
There is another page on the website called “about.” If you want to make changes
to this page, you’ll need to edit the about.markdown file. Give it a try.
These are low-level changes, and they will appear once you refresh the page.
However, there are other changes that require you to rebuild the site before
they become visible. For example, all the meta-information of the website is in
the _config.yml. If you try to change the title, refreshing the page won’t
show the update. Instead, you need to stop the terminal running the website and
then run the command:
$ bundle exec jekyll serve
again to see the changes take effect.
Deploy the Website
Now let’s assume we are ready for deployment (although we’re not quite there yet)!
-
The first thing you need to do is create a new repository (repo) and name it after the URL you want, followed by
.github.io. For example, if you want a website fornomimarks, your repo’s name should benomimarks.github.io. -
Now that we’ve created the online repo, we need to connect it to the local copy using the GitHub repo. From the code page of your repo, you need to copy the
sshaddress of your repo.
Time for your first Git command. In the terminal, run this while in the myblog directory:
$ git remote set-url origin git@github.com:ThNomiMarks/nomimarks.github.io.git
-
Next, we need to make a few changes to the
_configfile:- Change the
baseurl:argument to benomimarks.github.io(or your equivalent name). - Change the
url:argument tohttps://thnomimarks.github.io.
- Change the
Now we need to edit the Gemfile:
- Comment out (with
#) the linegem "jekyll", "~> 4.3.2". - Add the following line to the file:
gem "github-pages", "~> 228", group: :jekyll_plugins.
(By the way, I got all this from here: https://docs.github.com/en/pages/quickstart.)
- Commit and Push
Once you have made all these changes, you’ll need to update your copy on GitHub. First, commit everything:
$ git add .
$ git commit -m "drafting my website"
Now let’s push to our branch. Note that we have been working in the main branch:
$ git push origin main
- GitHub Pages
Go to your repo and refresh. Check that all the new files are there. Then go to settings, and on the left, you can find the “Pages” tab. Select the branch you want to deploy, which in our case is main. Wait for a little bit, and then GitHub will let you know that your website is online!
For example, here’s what the Pages for my personal website look like:

Going Forward
This is a very simple and minimalist guide for creating a website just to help you get familiar and started. You can further develop your own website, reflecting your unique style. If you want to do this, that’s awesome, and Jekyll has many guides on this: https://jekyllrb.com/resources/.
However, sometimes creating your own theme can be challenging. Jekyll has a fantastic community, and many people have made their themes available online for free. You can check this website for free themes or even paid ones: https://jekyllthemes.io/free.
Each style has its own GitHub page where they explain how to use the theme, make changes that reflect your style, and sometimes even how to deploy the website. I hope you enjoy diving into this world. In my experience, things can take some time, and it can become frustrating, but you gain a lot from setting up your website, like knowledge in HTML. If you were to follow this guide with Git, it can be a valuable learning experience.
Remember, this is just one way, not necessarily the best way!